It’s no secret that I love Procreate! This incredible drawing app was the tipping point that helped me decide to go with the iPad pro, and I use it daily for hand-lettering and illustrations. It’s completely streamlined my workflow and allowed me to deliver faster art to my clients! The user interface is so easy that anyone who can hold a pencil can use it.
That being said, there are some things you should know before you dive right in, especially if you’re doing more complex illustrations. So, here are my tips to avoid pain in procreate!
Start out with a plan
It’s easy to say “plan ahead” after you’ve made mistakes, so make mistakes! then write them down so you don’t make them again. Here are my tips learned by making mistakes:

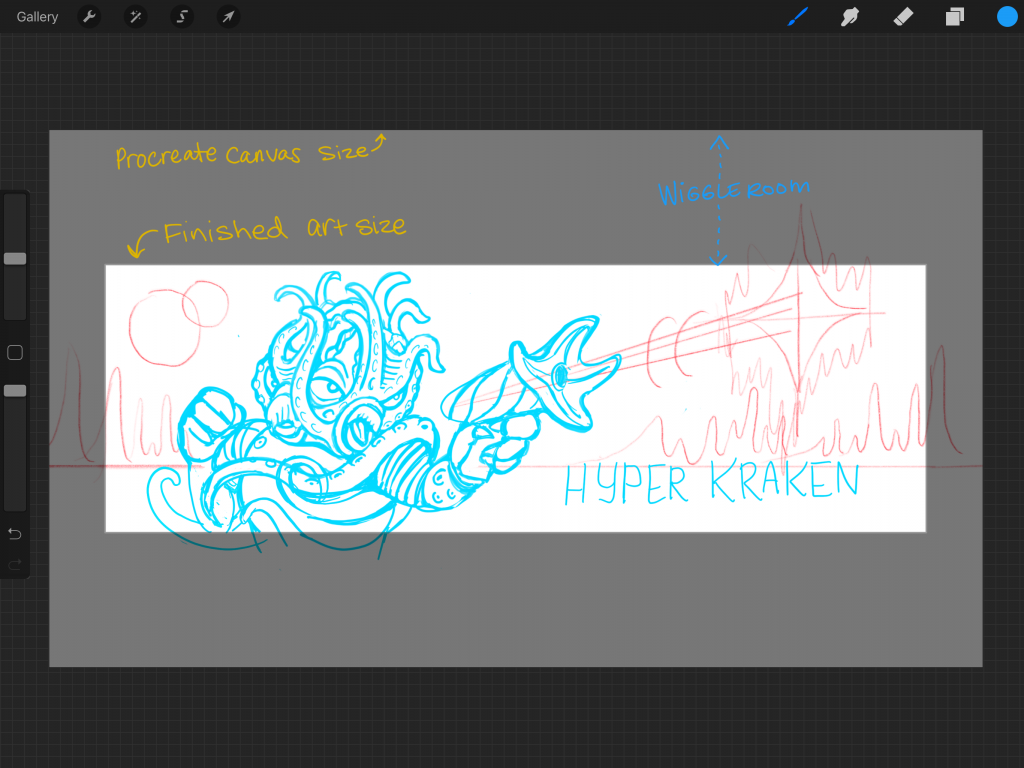
Concept sketch by Paulkaiju and me. Each element is still a separate layer until we’re happy with the compositoin. I made the canvas much larger than the final art – the light gray margins give me some wiggle room to move elements of the layout without cropping off any pixels.
- Be absolutely 100% sure of the canvas size you need before you start painting. There is no crop or resize canvas feature. Make your canvas as big as you can (bigger canvases have a lower layer limit). You can always scale down without pain, but scaling up causes quality loss.
- Make your canvas bigger than you need. Procreate automatically crops off any art that you push off of the canvas. There have been a few times when I accidentally chopped off the feet of a character I was drawing because I forgot that it automatically crops!
- Remember that if you want to print your piece, you should work at 300 Dpi, so multiply the size in inches by 300 (so an 8″ x 10″ print would be 2400px x 3000px).
Sketch first and get your composition SOLID before doing finished work on top. You can’t group layers to nudge them together, moving objects in a painting is painstaking work if it is made of many layers.This was fixed in Procreate 4! 😀 Organize your piece into logical groups (background, a foreground character, etc) and name the groups well!If you do need to move a bunch of layers at once and plan on transferring the piece into Photoshop later anyway, Just wait to move the layers in Photoshop. Try to label them and keep them together in the layer stack.Again, fixed in version 4. If you didn’t organize your layers into groups and need to move several layers, you can also multi-select layers and move or resize at once now! Still, name your layers and groups well.
Rename your Layers
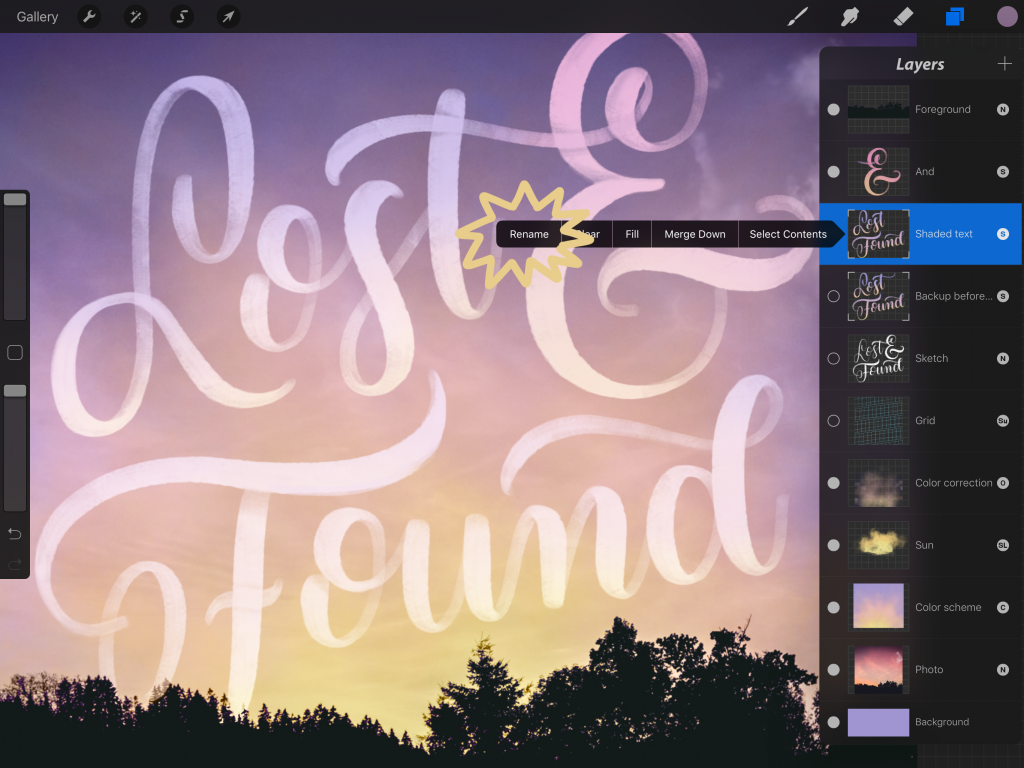
- I know it isn’t glamorous, but rename your layers – especially if you plan to export to Photoshop. The preview thumbnail in PS isn’t as clear as the one in Procreate, and you’ll waste time hunting for “layer 56”.
- I tend to make a lot of layers – I like to separate texture from color and outlines, so some of my layers look really similar. again, Rename your layers!
Save Photoshop for last

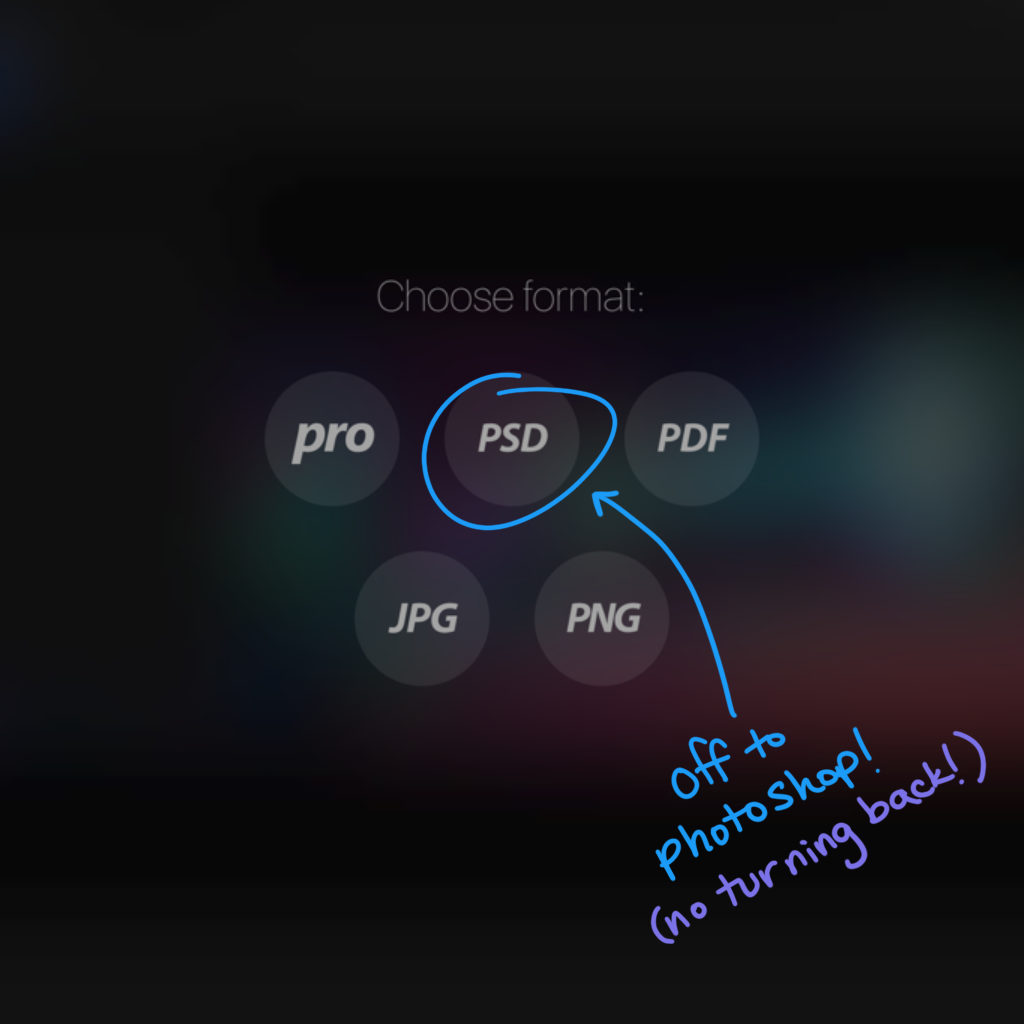
Export to Photoshop PSD when you are DONE in Procreate. You can export from Procreate to .psd but you can’t export from photoshop back to .pro (apparently, they’re looking into it). As of this version, You can’t have a back-and-forth workflow.You can now import a psd back into Procreate as long as you have iOS 10 or higher!
Focus on its strengths
Procreate is a Painting and drawing app, not a layout design or typesetting app. Focus on what it can do and how it can fit into a workflow, and there’s no reason why you can’t create stunning, high-resolution print-ready artwork in this app!


Too bad about not being able to crop … I suppose if you plan ahead, exporting to a psd would allow one to do a final crop. Thanks for the tips!
Bless your brilliant mind!! Bought brushes today and love the watercolor videos AND written instruction!!
Beautiful work Melissa! Here a a couple updates for your readers:
Update #1: You can now group layers.
Update #2: You can now import PSD.
Procreate is constantly improving! Yay for that!
Hello! I have a question. I’m a little bit of a beginner, but I’ve tried reading lots of materials and I can’t figure this out. How did you create the gray border to distinguish your wiggle room from your finished art size?
Hi Alex, I made the “wiggle room” .png In Photoshop. I needed the pixel dimensions to be exact and Procreate doesn’t have rulers (as of this version!)
I have a question-
I use procreate for hand lettering. Whenever I zoom in add lettering, zoom out, and so forth, the lines lose their crisp appearance.
When designing, I need to be able to zoom in and out and modify but the image ends up looking poor.
Thoughts?
Hi Allison, It sounds like what’s happening is that your layer is actually resizing instead of zooming. It’s the same gesture – pinch – but check to make sure the “arrow/select” tool in the top left corner is not active when you pinch.
I also find it helps to work on a canvas that is much bigger than the intended finished size, since scaling things down can be done without much loss of clarity, but scaling artwork up will cause ugly pixellation (this is true in any pixel-editing software, not just procreate.)
Hope this helps!
Hi Melissa,
Thank you for your advice! I never noticed the arrow button haha I simply pinch to zoom, draw/modify, then zoom out and cut/paste selections. I notice the image looks fuzzy and low resolutionish. I think the problem will continue until the canvas and software are vector based instead of raster. Like you said, this is a pixel sofware and raster based so i think that will be the issue. It just now dawned on me. 🙁 I will definitely take this avdice and just be extra careful and more intentional with the designs.
Thank YOU!
Looking forward to learning more from you! I am an amature artist and enjoy Procreate! Thanks! Deniele
This last comment was exactly the answer I was looking for. I was thinking that Procreate may have just saved it as a lower quality image after I closed the project for the day. Thanks you two!